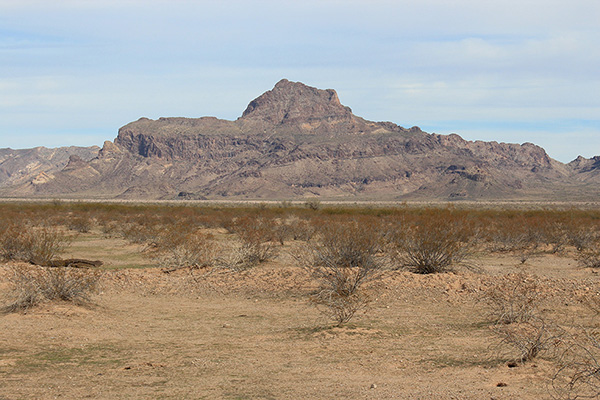
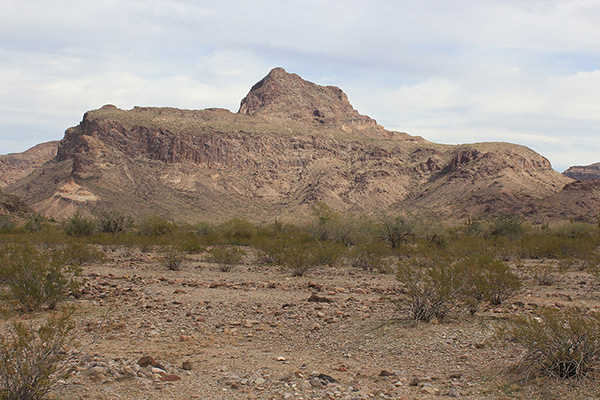
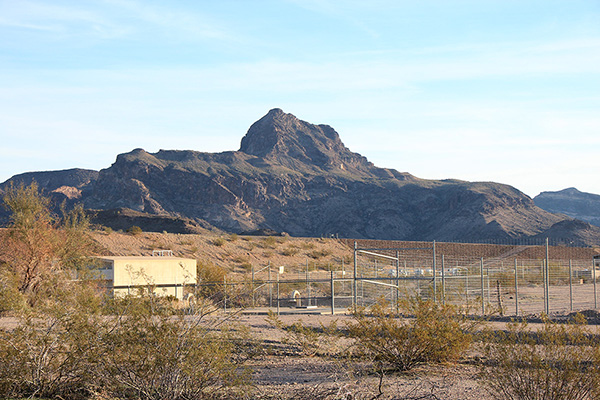
Last Saturday, January 15, I left Tucson and drove to the Hayden-Rhodes Aqueduct between Phoenix and Quartzsite, Arizona, just north of Interstate Highway 10. My goal was to climb Big Horn Peak, the 180th more prominent peak in Arizona with 1400 feet of topographic prominence. Though Big Horn Peak is way down on the Arizona prominence list, it has a very distinctive appearance and offers a complex route with significant rock scrambling around and above cliffs.
I arrived at the aqueduct and began my hike in at noon. I crossed a footbridge just below a water drop that sounded like a river rapid. The water was running strongly. Once across I followed dirt roads and crossed a locked gate and a barbed wire fence. Then I began hiking directly across the desert towards Big Horn Peak.
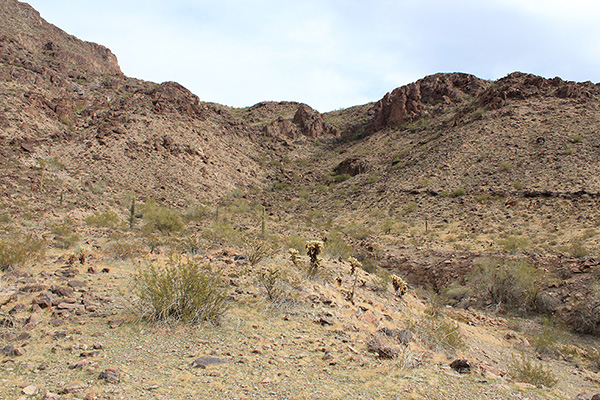
I had GPS tracks from two previous climbers and also a written description of the route. Sometimes the GPS tracks and the written description seemed to differ, so sometimes I decided to take whatever route looked best or more interesting from below. My first choice was whether to climb up a canyon to a broad bench or climb the ridge to the right up. I chose the first option on my ascent.
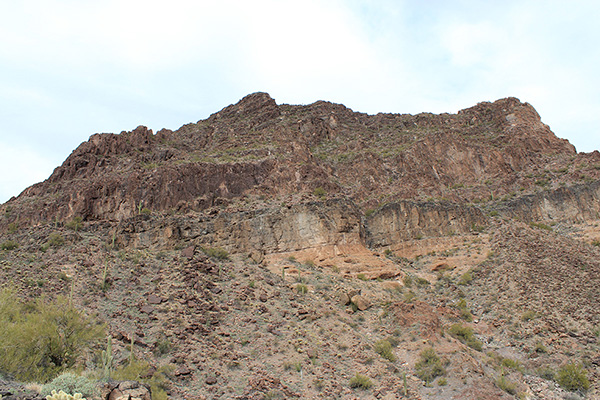
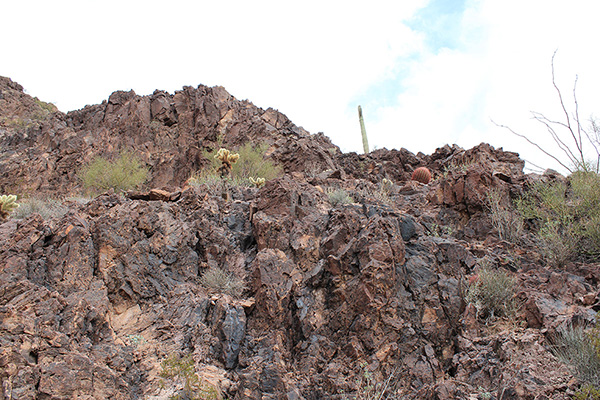
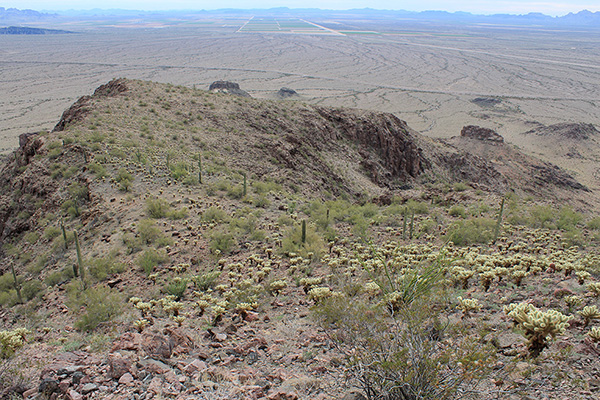
The footing was fairly stable climbing the left side of the canyon and seemed much more direct than the alternative ridge climb. From the bench I resumed climbing directly towards the summit, weaving around and avoiding contact with cholla cacti where needed. Soon I had an open view of the cliffs and summit above.
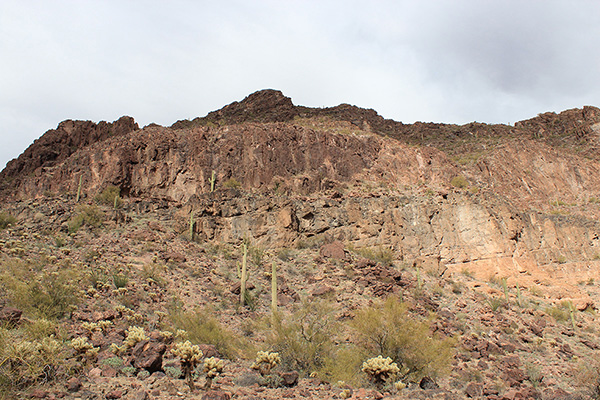
The written route description described a lone saguaro cactus below a wide cliff and I understood that I should climb to the saguaro, then traverse below the cliff to the right looking for a gully to climb. I did so, noting that the GPS tracks went the other direction and were soon above the cliff I was traversing below. When I reached the gully it appeared very wide, steep, and dangerous. I decided to return to the saguaro.
Once back to the landmark saguaro I traversed left, following the GPS tracks. I entered a canyon, traversed up on its right side towards its headwall cliffs. The steepness of the cliffs ahead and the GPS tracks encouraged me to look up to my right to climb out of the canyon.
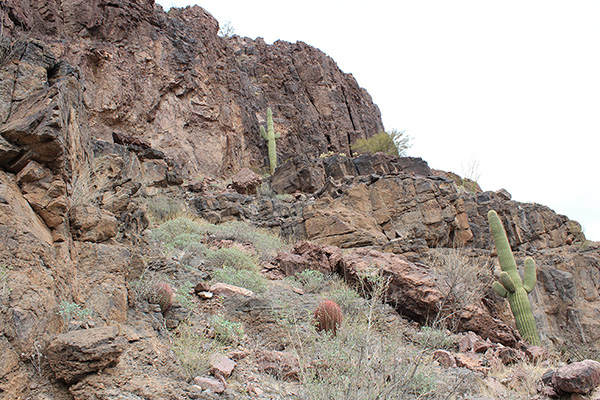
I scrambled above some short cliffs and followed a ledge to a steep rock rib leading up towards the summit. The written description seemed to better fit this route and I decided I was back on route.
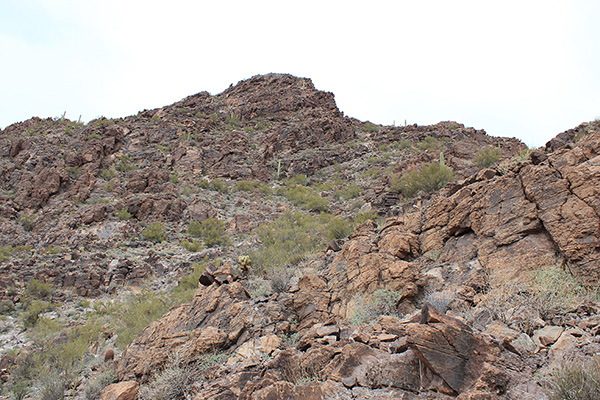
Where I could I stayed on firmer rock along the rib line. I enjoyed easy scrambling over firm rock steps and slabs as I climbed towards the summit ridge.

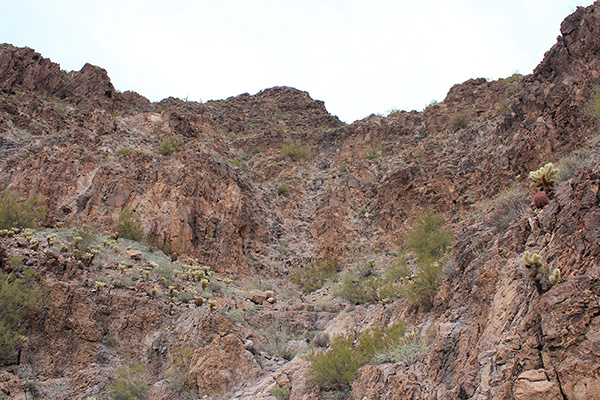
Eventually I gained the summit ridge, noted two vultures watching me from a cliff on my right, turned left, and traversed to the notch below the east face of the summit block. It was later than I had expected to arrive and I felt pressed for time.
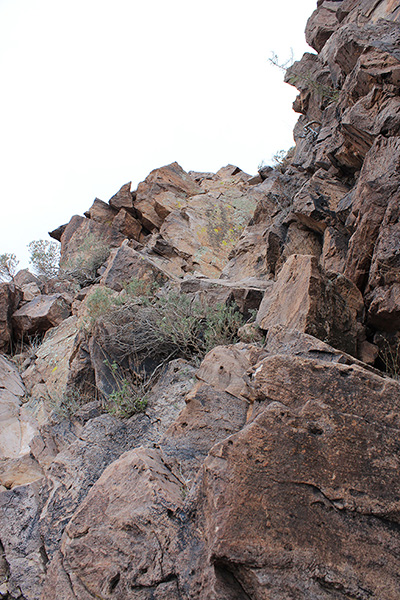
After discarding some obviously too difficult routes I found what I thought must be the described “class 3+ cleft” and enjoyed a secure scramble up to the roomy summit. The rock was firm with many handholds and footholds and laid back well.
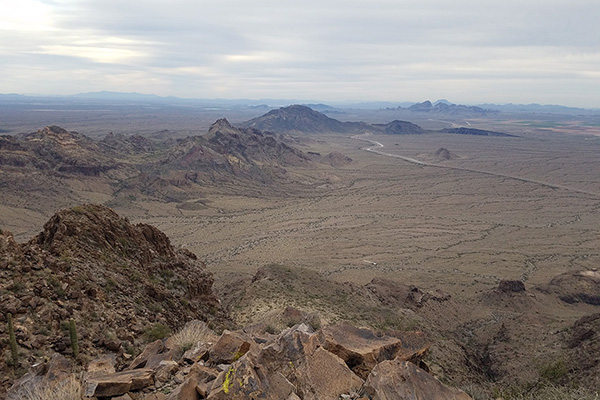
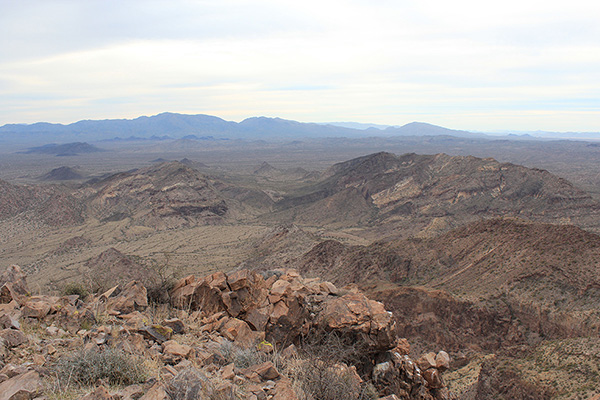
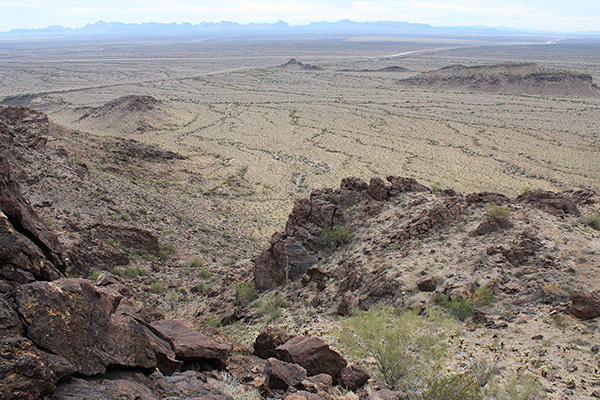
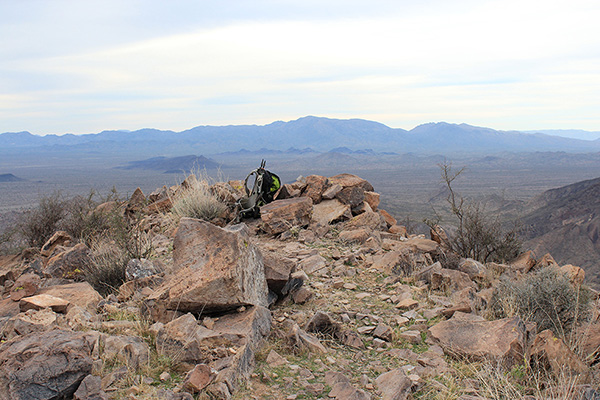
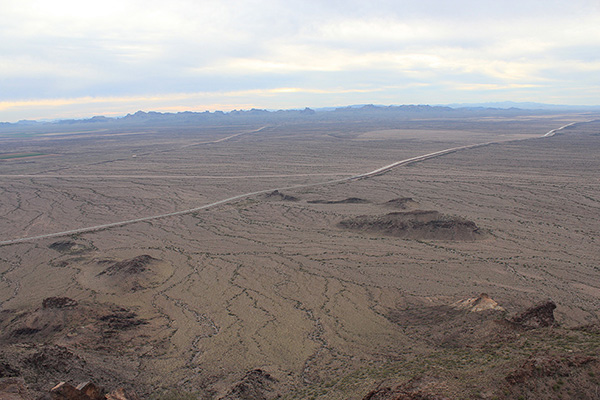
I texted Linda my success, recorded my name in the weathered summit registry, and took several photos of the surrounding mountains. I wished the sky had been clearer and the views better, but I was pleased to be where I was.
Unfortunately, I could not linger as long as I would have liked on the very scenic summit. After only half an hour I began my descent.
The complex descent went well and I was glad to be off the upper mountain before sunset. I decided to descend the ridge line off the broad bench to the desert floor. This route took longer than I had expected but I was able to return to the desert floor by sunset. I hiked back to my Jeep in dusk and then moonlight shining through high clouds.
I moved my Jeep a few hundred yards to a spot I had found earlier and enjoyed dinner and a pleasant moonlit night beside the bubbling aqueduct beneath the rock face of Big Horn Peak.
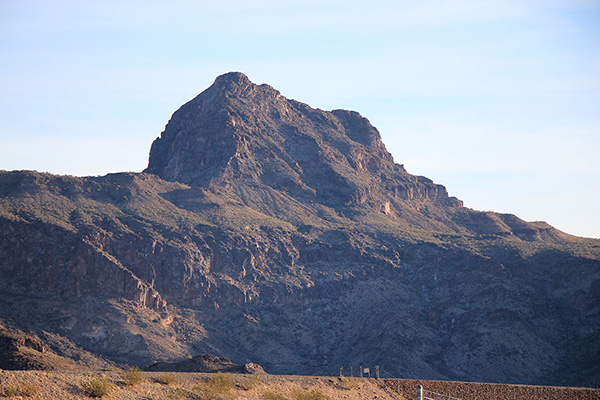
The next morning I enjoyed the early light illuminating Big Horn Peak and the upper rib I had climbed towards the summit. I paused several times on my drive out for yet another photo.

Leave a Reply